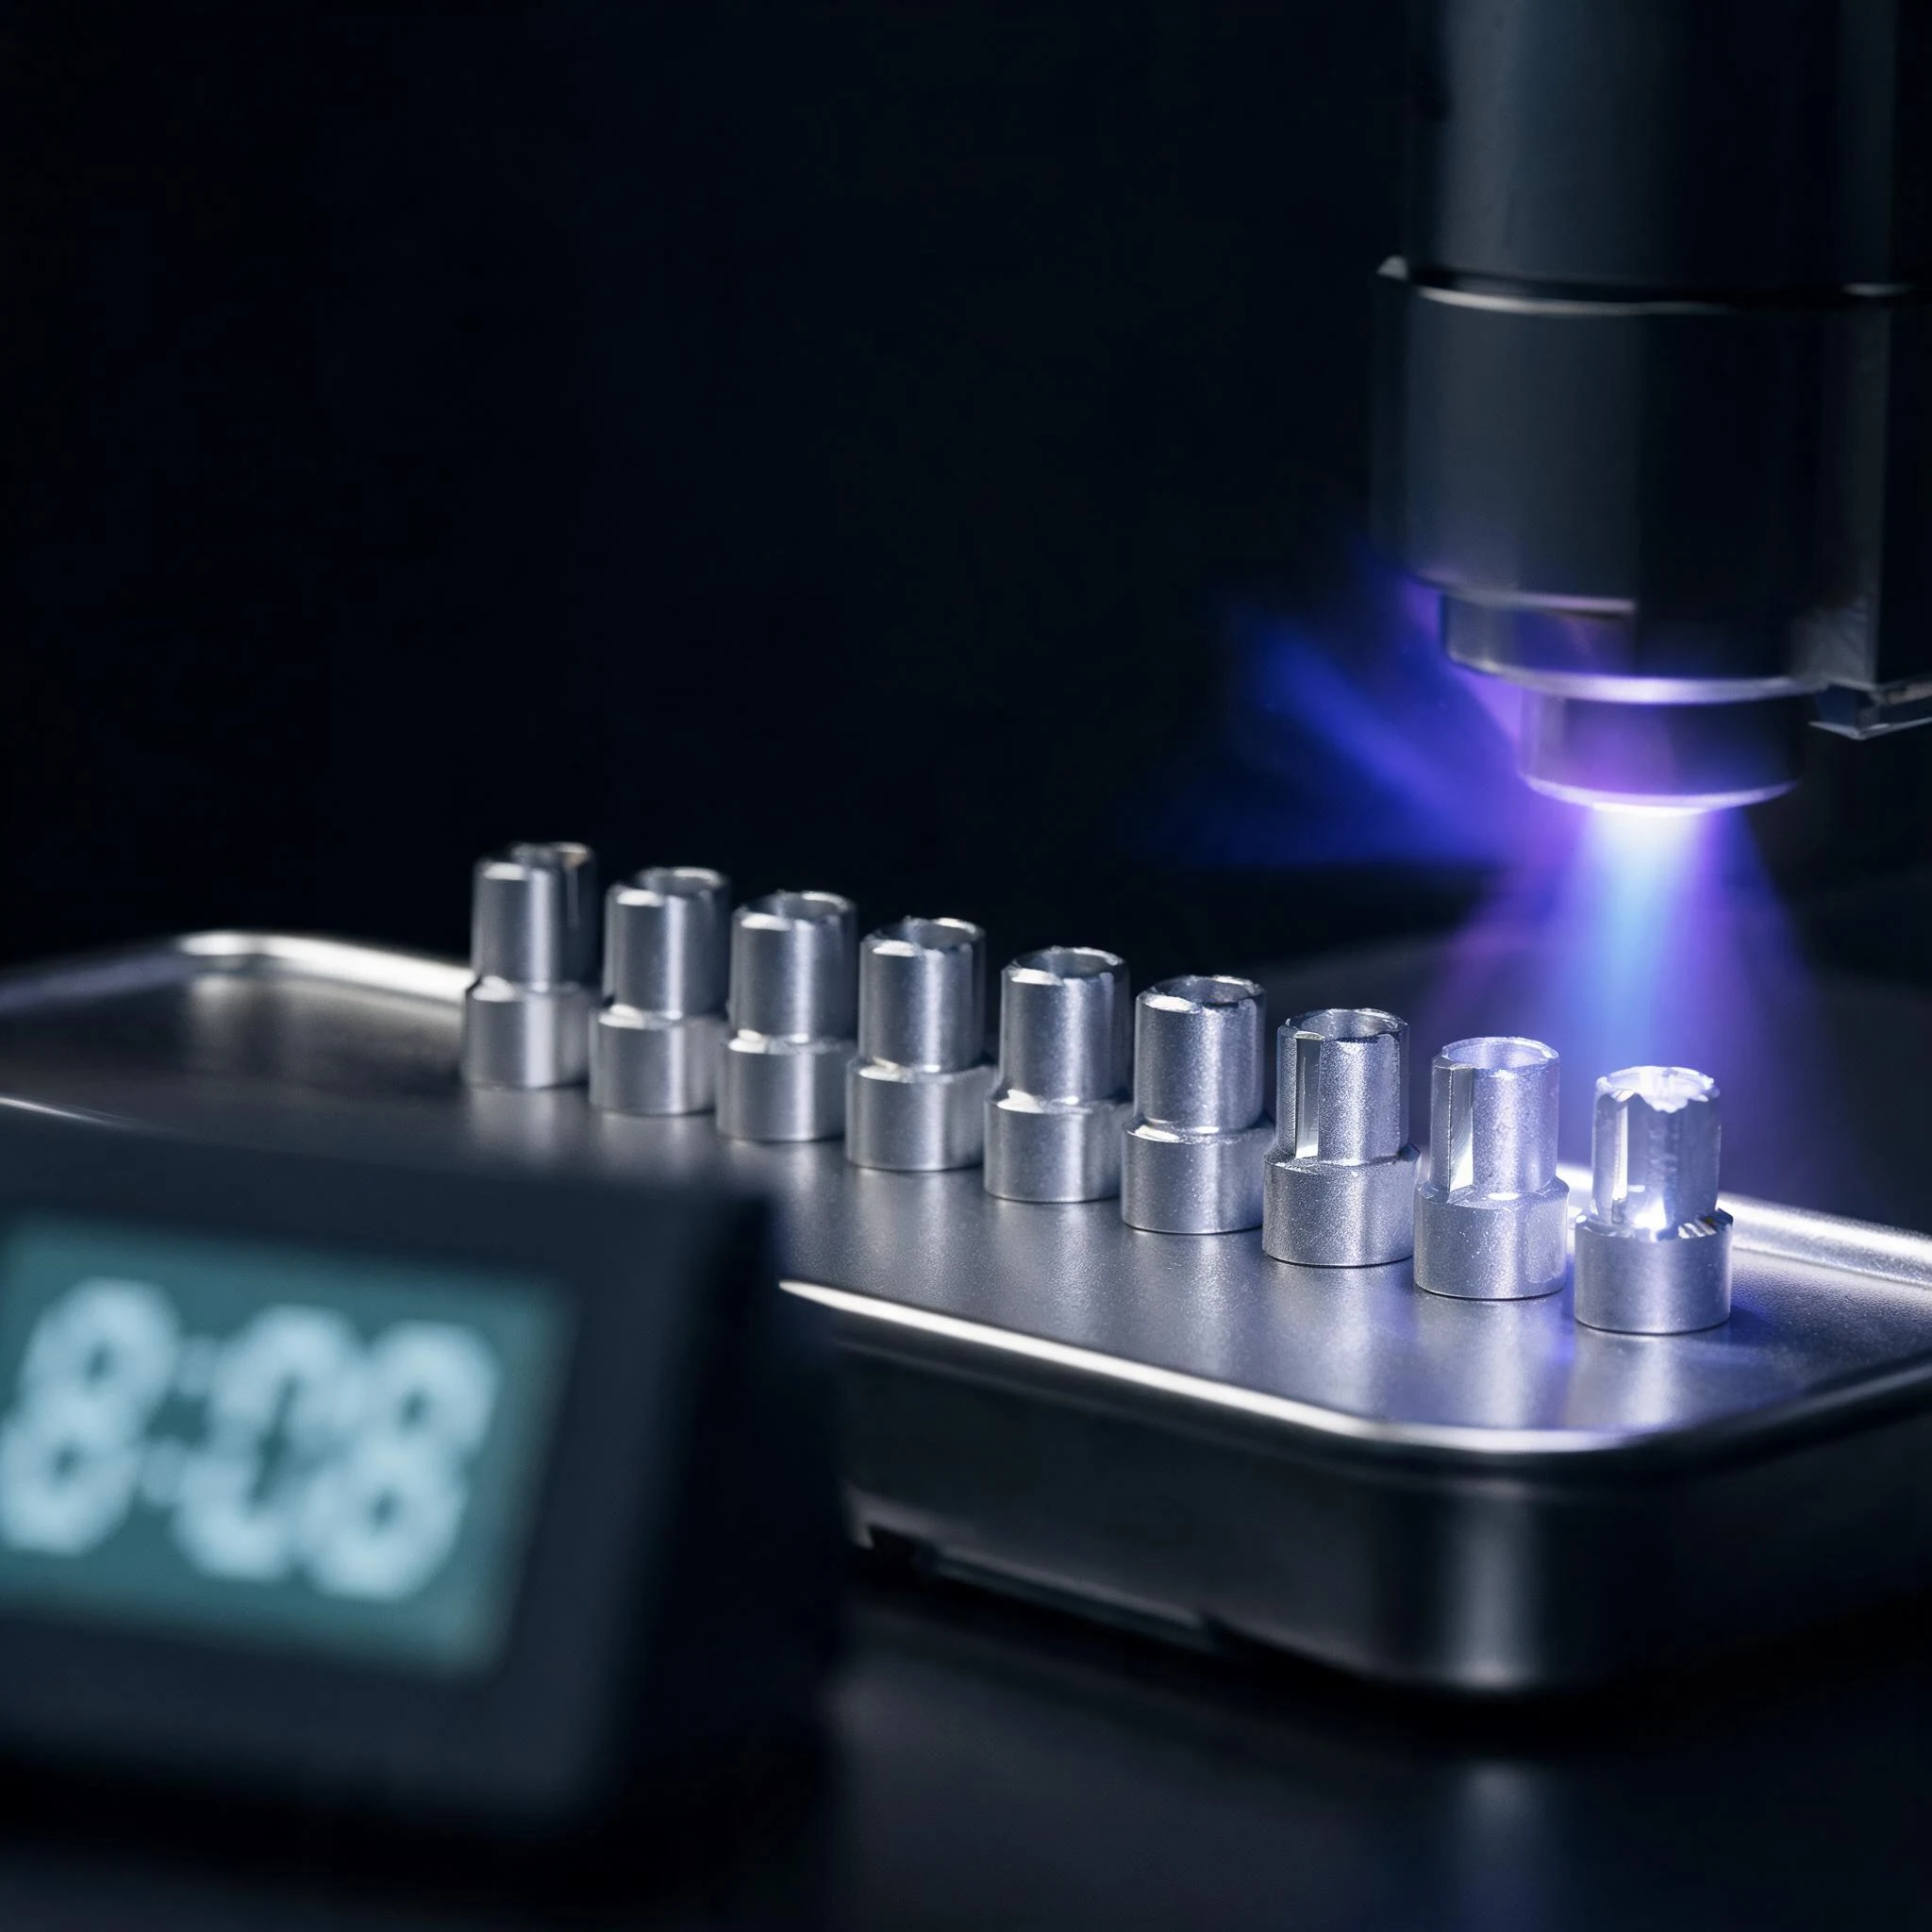
"It held in the sample, it delaminates in volume." That sentence turns up in overmoulding projects more often than any single parameter problem. Its usual cause is not low pressure or low mould temperature — it is how long the parts sat in the air after plasma activation.
Plasma lifts substrate surface energy to 55–60 mN/m and drops the contact angle from 80° to below 30°, and the effect is immediate: PC, PEEK and stainless steel that would not bond suddenly hold. But the state is not permanent — activation starts decaying within 30 minutes, and parts not overmoulded inside that window must be re-activated.
This note is about one thing: how ordinary shop-floor logistics eat those 30 minutes, and how to hold the window. The full list of failure modes is in eight failure modes in silicone overmoulding; here it is about execution.
1. Thirty minutes is surface physics, not a rule of thumb
Plasma opens an otherwise inert surface: high-energy particles break bonds on the polymer chain and leave hydroxyl and carboxyl groups behind. More polar groups means higher surface energy, and higher surface energy is what lets silicone wet and stay.
Those polar groups are not stable in air. Three things happen at once:
- Re-orientation: polar groups rotate inward to lower the system energy, flipping non-polar segments to the surface;
- Adsorption: moisture, oil mist, dust and outgassing from packaging film settle on the surface — effectively a separating layer;
- Migration: additives inside the substrate keep migrating outward and cover the freshly treated surface.
Together they pull surface energy back down over storage time. The activation window is therefore a real shelf life, not an administrative rule. It belongs in the work instruction precisely because production lines do not obey physics on their own.
2. Four everyday scenes that eat the window
Nobody breaks the process on purpose. The window is usually consumed by arrangements that look reasonable:
- The treatment station is nowhere near the press. Tray up, take the lift, wait for the transfer, cross the shop: two hours pass easily. Parts rub against each other in the tray and collect scratches and debris as a bonus.
- Lunch break or shift change. The last batch is treated before lunch and moulded after it; at handover the earlier batch has been sitting on the rack for hours.
- Treating a whole day at once "for efficiency". The most common one: plasma is treated as a batch step that can be done in advance, so parts treated in the morning are still being moulded the next day.
- No re-activation rule. When parts expire, the default is "they look treated, run them" — because nobody can see how far surface energy has fallen.
All four share one feature: none of them appears on the parameter sheet. Mould temperature, pressure and cure time are all in spec, the records are complete, and the failures keep coming. You cannot find this by auditing settings.
3. Holding the window: four concrete measures
| Measure | How to run it | What it looks like when missing |
|---|---|---|
| Move treatment beside the press | Plasma head and loading station in the same area; treated parts go straight into the tool; transfer measured in tens of metres | Parts at the edge of a batch fail first, the middle ones are fine — the edge parts waited longest |
| Treat to takt, not to the day | One treatment run equals one or two shots' worth; start the unit more often | Morning good, afternoon bad; the first batch after a shift change fails most |
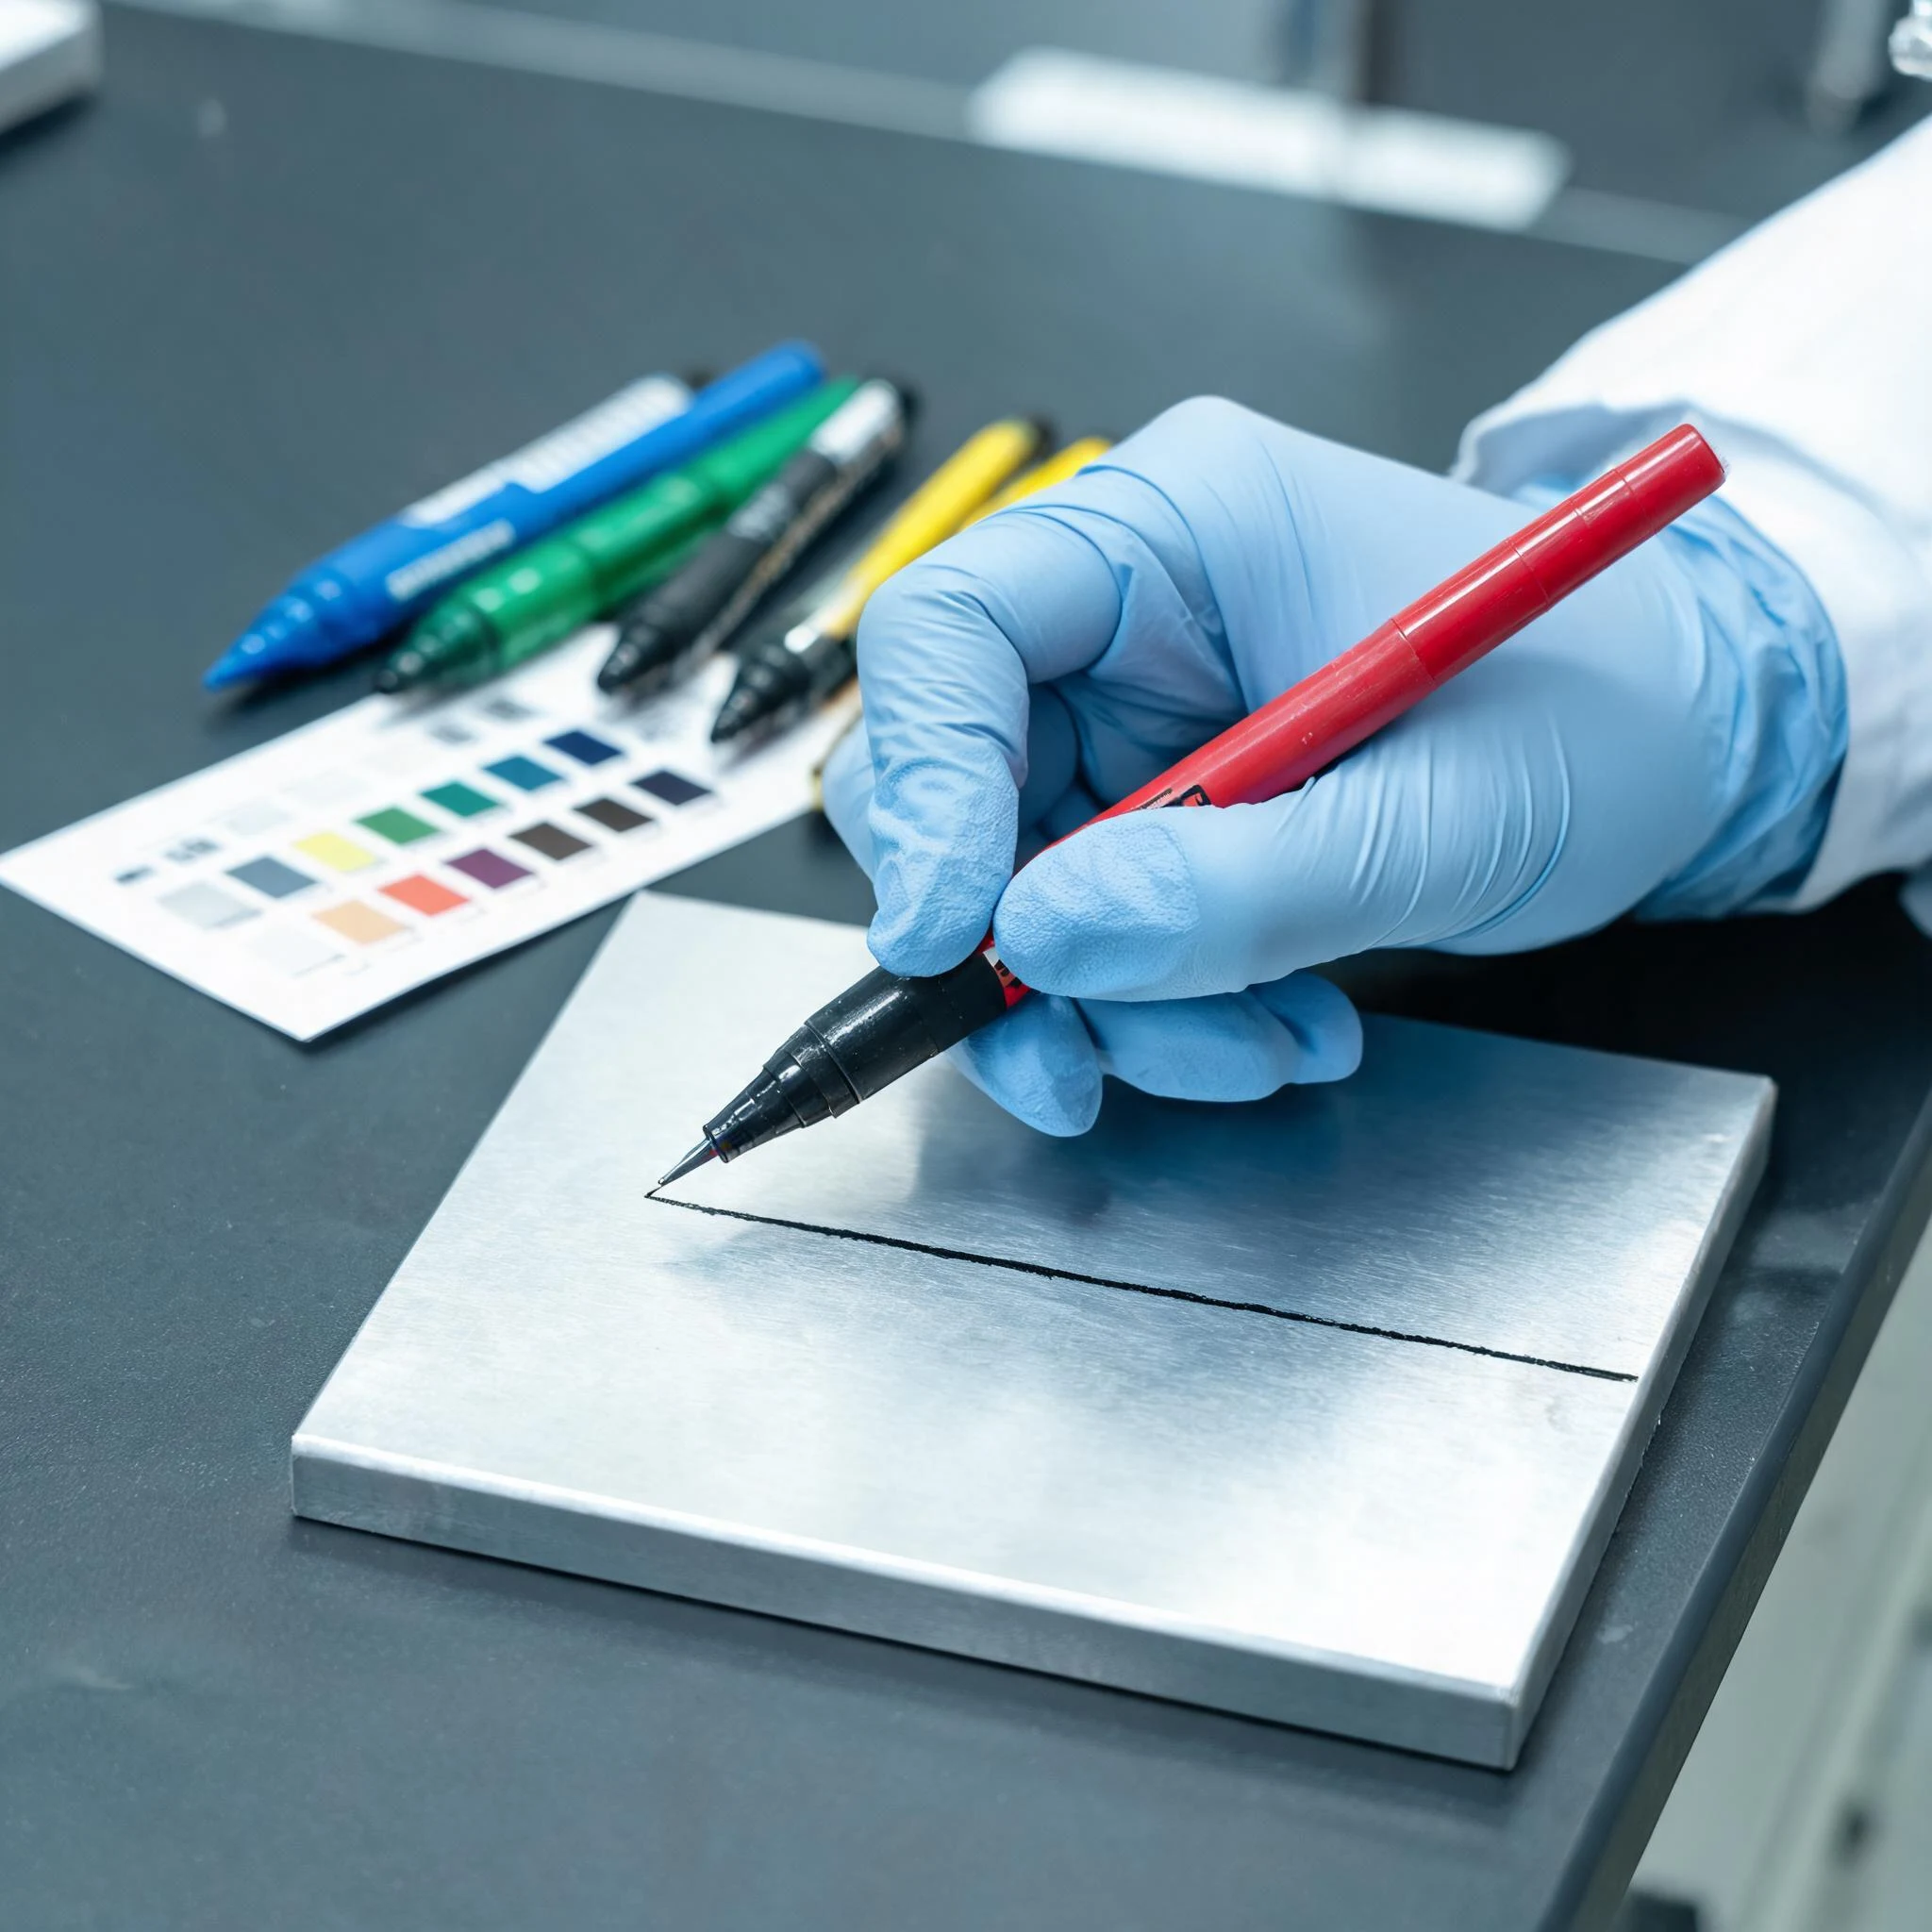
| Dyne value or contact angle check | Sample every treated batch on the line; release only at 56 mN/m or above; record the number, not a tick | Release depends on "it looks treated"; no way to trace a bad batch |
| Write the re-activation rule | Expired parts tagged and quarantined, re-treated and re-timed; no "top it up and run it" | Expired parts blend into good batches and failures scatter, which is the hardest pattern to trace |
The easiest of the four — and the one most often skipped — is the third: replace "it was treated" with "it measured above 56 mN/m". A dyne pen or a contact angle meter costs far less than a scrapped batch. The record also pays off in audits: you can show a number for every batch instead of saying "we always do it this way".
4. Telling three kinds of "will not stick" apart
Expired activation is only one interface failure. On the floor it usually appears mixed with two others, and each needs a different response:
- Expired activation: failures correlate strongly with transfer time — parts that waited longest fail first, batches loaded near the treatment station are fine. Re-treatment restores it.
- Contamination: failures cluster in fixed positions, often the same clamping face or the same film-contact face. Re-treatment helps but does not cure it, because the source is still there.
- Primer or self-bonding mismatch: little correlation with time; it appears when the substrate lot or grade changes. This is a material pair problem, and no amount of treatment will rescue it.
The method is plain: sort failed parts by time first, then by position. Time-correlated means check the window; position-correlated means check contamination; lot-correlated means go back to the material pair. Each points at a different owner, and sorting them first saves a lot of useless machine adjustment.
5. Plasma, primer, self-bonding LSR: combine them
Holding the window does not mean abandoning the chemical route. Mature processes combine all three: plasma raises surface energy, a primer or a self-bonding grade forms chemical bonds at the interface, and mechanical features (undercuts, texture) carry long-term shear. Each route covers one part of the chain; when any one drops, the whole thing presents as "delamination".
The corollary matters commercially: if validation only tested parts moulded immediately after treatment, that report proves the material pair can bond in theory — it does not prove volume feasibility. A meaningful validation runs one comparison at real production intervals: mould sets at 5 minutes, 30 minutes and 2 hours after treatment, then peel and age all three. Where the curve drops is where the window sits.
6. Three questions to ask when you buy
- What is the window between plasma treatment and moulding, how is it enforced, and is there a numeric record?
- What happens to expired parts — re-activation or scrap, and who decides?
- Can you provide peel and ageing data at different storage intervals, not only the same-day sample report?
Suppliers who answer all three specifically have usually solved this on a line. Those who cannot are often treating plasma as a machine that counts as "done" once switched on.
Conclusion
Interface strength is set by chemistry, but whether the interface forms at all is largely a matter of time. Plasma gives you thirty minutes to get the part into the tool; past that, what you are holding is a part that merely looks treated.
Further reading: the full failure list is in eight failure modes in silicone overmoulding; substrate and primer combinations are in the material and primer matrix; validation scope is in R&D and testing. If you have a specific substrate and transfer route, send the drawing and the process description and we will start with where it breaks — interface, material or flow.