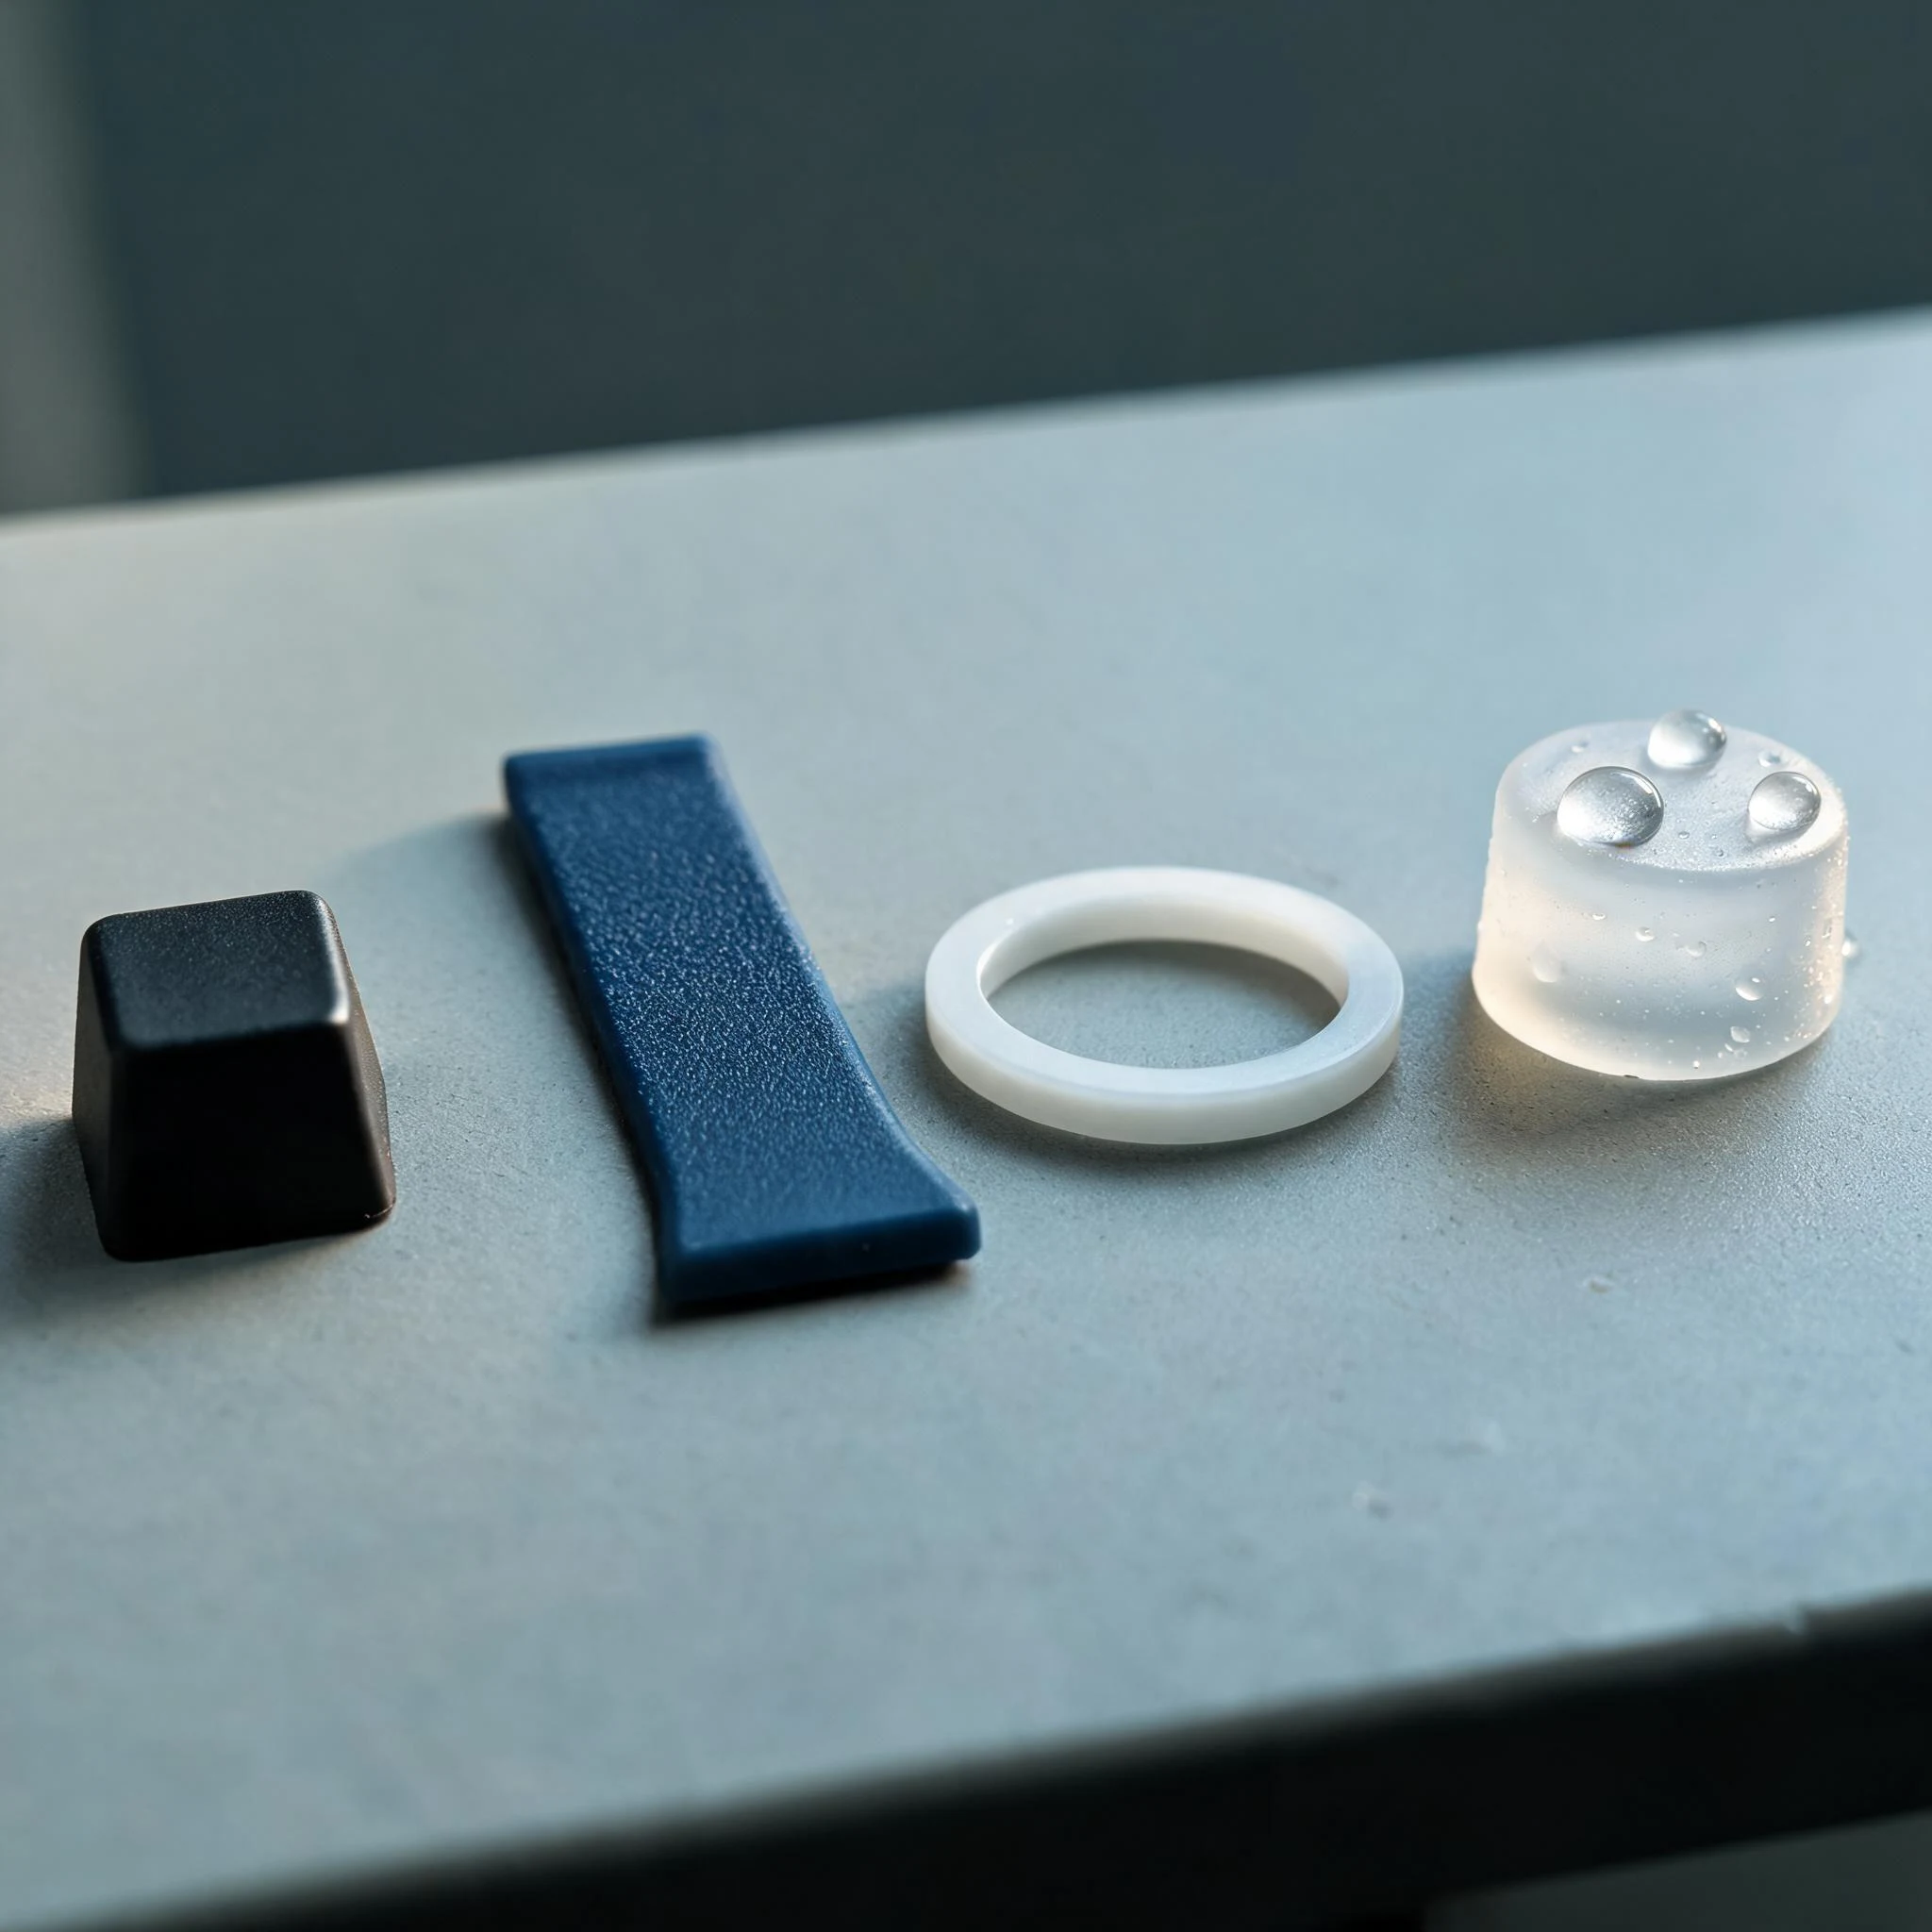
On a silicone quotation, molding is usually the largest line and surface treatment is written as "as required". Yet that layer decides the first impression in a customer's hand, and whether a complaint arrives three months later: does it feel grippy or slick, does it haze after twenty alcohol wipes, does the print on a key wear off?
Three shifts have happened in the last two years: coatings moving from solvent-borne to UV-cure and fluorosilicone systems; plasma activation turning from a niche into a routine step before printing and bonding; and laser texturing and marking replacing some screen printing and mould etching. They do not solve the same problem, and mixing them up shows up in production.
1. Why silicone surfaces are difficult
Silicone has low surface energy, so inks, adhesives and coatings struggle to grip. It also collects dust and oil, so with weak pre-treatment an adhesion test can pass and the edge lift within a week of assembly. And because it is an elastomer, the surface stretches under load while a hard coating does not, which produces fine cracks.
One more point is often missed: matte and fine-sand surfaces hide defects. A batch looks uniform on the line, then under a different angle of light shows uneven gloss, flow marks and oil spots. So the first job is not choosing a process but writing the appearance standard as something measurable — gloss, roughness, colour difference — not "looks about right".
2. Feel oils and coatings: mature, and easily misused
Spraying a feel oil and baking it is the most common approach for cosmetic silicone. It changes how the part feels: lower friction, fewer fingerprints, less dust pickup, more even matte. The systems have moved:
- UV-cure: fast and energy-efficient for tight cycles, but shadowed areas and complex curves may be under-cured.
- Fluorosilicone systems: stronger anti-soil and anti-fingerprint performance and better wipe resistance, at higher cost and with a narrower process window.
- Water-borne: lower VOC, aligned with workshop regulations, but more sensitive to substrate cleanliness and drying curves.
The weakness is concentrated: a coating is an added layer, so abrasion and solvent resistance are capped by the coating itself. Repeated alcohol, chlorine or strong alkaline wiping attacks that layer first — hazing, tackiness, local flaking. Wearables also face sweat and sunscreen; automotive interiors face cleaners. Without targeted wipe tests in the lab, production will find out for you.
3. Plasma and corona activation: a step for adhesion, not appearance
Plasma opens molecular chains and introduces polar groups, raising surface energy so inks, UV adhesives, coatings and tapes actually bond. It changes nothing visible, yet it decides whether anything applied later holds.
- It has a shelf life: activation decays, so printing or bonding must happen within a defined window — do not treat a large batch and leave it waiting.
- Coverage must be complete: nozzle distance, angle and dwell time decide uniformity; recesses, side walls and bores are the usual misses and the usual lift points.
- More is not better: over-treatment makes the surface tacky or powdery and reduces adhesion while changing the feel.
Verify with dyne pens or contact-angle measurement plus a cross-hatch adhesion test; "looks fine" hands the risk to the customer.
4. Laser texturing and marking: put the effect into the material
Lasers do two things on silicone: removal and modification (light markings, micro-texture, anti-slip), and structuring (local fine relief that changes feel and reflection).
- Abrasion resistance: there is no ink layer, so the mark wears with the substrate instead of flaking off as a whole.
- No consumables, fast changes: a new pattern is a new file, which suits many models in small batches.
- Local processing: treat only the key top or the inside of a strap and leave the rest untouched.
The limits are clear: contrast differs between dark and light parts, since a light mark on black silicone comes from surface modification and depends on energy, focus and compound — a new material lot may need re-tuning. Transparent and translucent parts are hard to mark with contrast. The process also generates dust and odour, so extraction and cleaning are needed or the dust embeds in fine sand textures.
5. Mould texture: no added layer, still a feel
The opposite route is to put the texture in the tool: etch, bead blast, mirror or local matte. It is formed in one shot, needs no coating, has the highest abrasion and solvent ceiling, and cannot lift. The costs are that changing the texture changes the tool, fine textures fill up with compound and residue over long runs, and depth and uniformity are harder to control than spraying.
Real projects usually combine them: mould texture sets the base feel, a local coating tunes gloss, laser adds the marking. Decide who does what before the tool is cut, not after samples arrive.
| Route | Solves | Best-fit parts | Durability risk | Cost basis |
|---|---|---|---|---|
| Feel oil / coating | Slickness, anti-soil, even gloss | Cosmetic parts, keys, straps, grips | Limited abrasion and solvent resistance; hazes, lifts | Area and system, including pre-treatment and baking |
| Plasma / corona | Raises surface energy so ink and adhesive hold | Parts that will be printed, dispensed or laminated | Short shelf life; uneven coverage fails locally | Process step, usually tied to the following operation |
| Laser texture / marking | Wear-resistant marking, local micro-texture, anti-slip | Multi-model small batches, dark cosmetic parts | Lot-to-lot contrast, dust residue, poor on transparent parts | Marked area and cycle time; low change cost |
| Mould texture | Base feel and matte, no added layer | High volume, texture unchanged for years | Texture fills up; changing it means reworking the tool | One-time tooling investment, lowest part cost |
6. Acceptance: five tests that settle arguments
- Adhesion: cross-hatch, stating whether activation was used and how long the part rested before testing.
- Abrasion: eraser, steel wool or reciprocating rub, with load, cycles and pass criteria (no breakthrough, no loss of gloss).
- Wipe resistance: media matched to use — 75% alcohol, artificial sweat, interior cleaner — with cycle count and observations.
- Appearance consistency: gloss at 60°, roughness Ra, colour difference ΔE, plus a retained limit sample.
- Safety and compliance: for food-contact, baby and medical parts, check the coating against the compliance list — migration and extraction matter, not only the base compound.
For wearables and automotive interiors, add a re-test after UV ageing or sweat immersion; measuring only the initial state is the same as not measuring.
7. Three questions worth asking a supplier
- Which layer is doing the work — coating, activation or the tool — and what happens to each after the wipe test you specify?
- If the part is activated, what is the maximum time between treatment and the next operation, and how is it controlled on the line?
- If a laser makes the mark, what happens with the next compound lot — who re-qualifies contrast and depth?
Conclusion
Moulding makes the geometry; the surface decides whether it feels considered and lasts. Coatings are the fastest fix and the most fragile; activation is invisible and indispensable; laser puts the effect into the material; mould texture has the highest durability ceiling but the least flexibility. Choosing means deciding which of those four you are buying — and writing the test that proves it.
If you are specifying a surface for a silicone part, send the appearance requirement, the cleaning agents it will meet and the life target, and we will propose a route with the tests to match.